
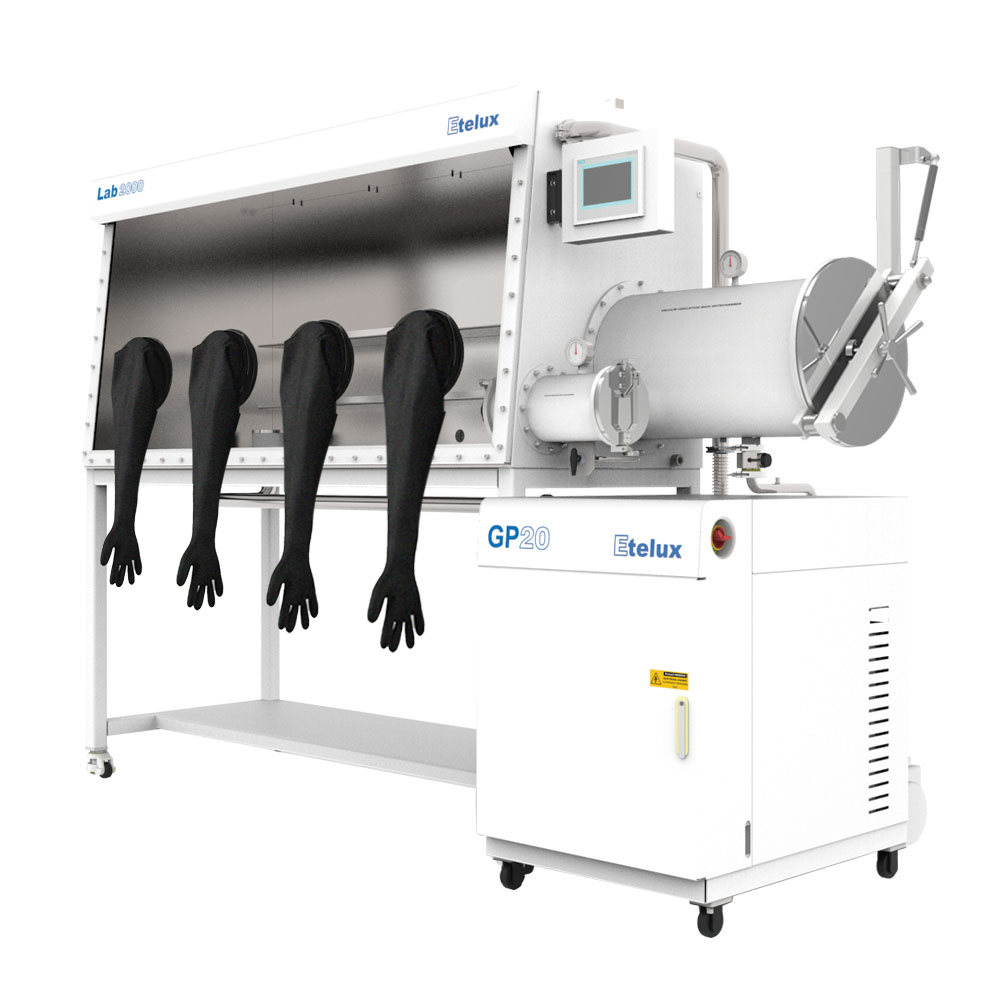
Gloveboxes are the gold standard for creating water- and oxygen-free environments in laboratories and industrial production. The gloves, as the only interface between the operator and the internal environment, are also the most vulnerable and easily damaged component. Once the gloves show cracks or punctures, the entire system’s seal is compromised, leading to water and oxygen intrusion and jeopardizing experimental results.
Today, we will walk you through the standardized replacement process for glovebox gloves and the key points for maintaining a reliable seal, helping you respond calmly in emergency situations.
I. Why Must Damaged Gloves Be Replaced Immediately?
Glovebox gloves must balance flexibility with puncture resistance, making them the weakest point in the entire system. Even tiny scratches or pinholes can compromise the inert atmosphere, affecting experiments or production involving sensitive materials. Therefore, once damage is found, replace the gloves immediately—do not rely on temporary tape patches, which can only serve as a very short-term emergency measure.
II. Standard Glove Replacement Procedure (Without Compromising the Internal Environment)
The core principle of glove replacement is to complete the swap without disrupting the glovebox’s inert gas atmosphere. The following is the industry-recognized “Russian doll” replacement method:
1. Preparation
- Turn off circulation: Shut down the glovebox circulation system and adjust the chamber pressure to the value recommended by the manufacturer to allow room for maneuvering.
- Prepare new gloves: Verify that the new gloves are of the correct material and size. Turn the new gloves inside out, with thumbs pointing upward, and compress them as much as possible to expel internal air, reducing the amount of air introduced into the chamber.
2. Handling the Old Gloves
- Push the damaged old gloves from the glove ports into the chamber.
- Remove the outer O-ring from the glove port, then move the inner O-ring to the outer groove. The old gloves will remain loosely attached to the ports.
3. Installing the New Gloves (Critical Step)
- Fit the prepared new gloves over the old gloves, covering the glove ports, ensuring a smooth fit without wrinkles.
- Install the O-ring into the inner groove of the glove port on the outside of the new gloves to secure them temporarily.
4. Removing the Old Gloves and Final Securing
- From inside the glovebox, use the other hand or glove to carefully detach the old gloves from the ports and pull them completely into the chamber.
- The new gloves are now in place. Install a second O-ring into the outer groove of the glove port to achieve a double seal.
- Remove the old gloves from the chamber via the transfer antechamber for proper disposal.
5. Verification and Inspection
After replacement, use the internal water/oxygen monitor to verify the atmosphere. If the water and oxygen levels return to normal operating standards within a short time—typically oxygen content below 200 ppm indicates good environmental control—you may restart the circulation system. Additionally, you can apply soapy water to the seams and check for bubbles to confirm the seal.
III. Daily Maintenance Tips for Ensuring Seal Integrity
In addition to proper replacement procedures, routine inspection and maintenance are equally important:
- Visual inspection before use: Before each use, check the gloves for cracks, scratches, discoloration, or thinned areas. Uneven material texture is often a sign of aging.
- Choose the right size: Gloves that are too large may create gaps during operation, while those that are too small are prone to tearing. A proper fit is essential for both sealing and dexterity.
- Operating habits: Avoid overstretching the gloves during use. For movements requiring a wide range, consider using specialized tools instead of hand motions to reduce physical wear on the gloves.
- Cleaning and maintenance: Clean gloves with mild detergent and a soft cloth, and avoid corrosive cleaners that can accelerate glove degradation.
Mastering the correct replacement process and seal maintenance techniques not only extends the service life of your glovebox but also ensures the accuracy of your experiments and operational safety. If you have questions about choosing the right material for new gloves—whether nitrile, neoprene, or silicone—feel free to leave a comment or consult your manufacturer for professional guidance.