
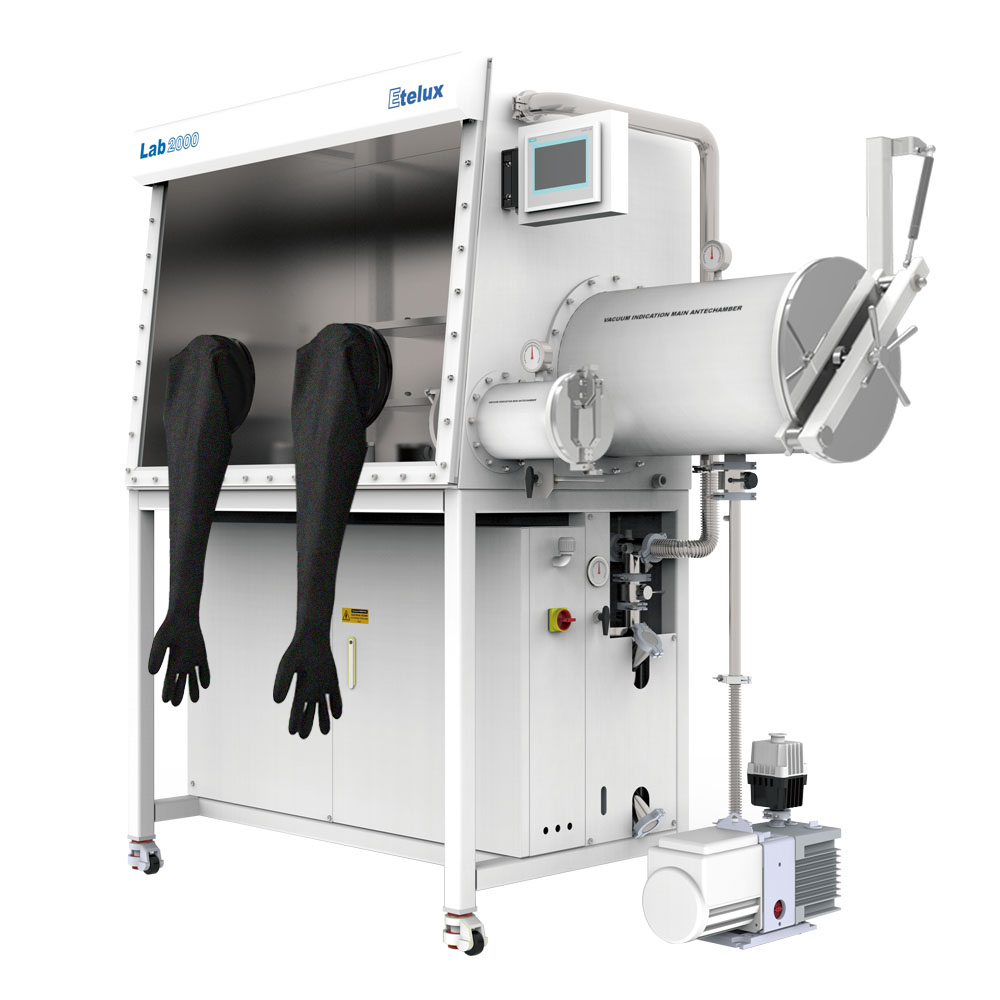
From Spin-Coating to Encapsulation – Preventing Moisture- and Oxygen-Sensitive Materials from Failing at Your Fingertips
Introduction: Perovskites, organic photovoltaics (OPV), quantum dots – what do these next-generation photovoltaic materials have in common? Besides high conversion efficiency, they share an inherent weakness: extreme sensitivity to water and oxygen. Even a few minutes of exposure can cause film degradation, fluorescence quenching, and device failure.
The inert gas glovebox is the core tool for solving this problem. But owning a glovebox doesn’t automatically guarantee reproducible results. This article walks through the key points from sample preparation to thin-film deposition to device encapsulation, helping R&D personnel use their glovebox correctly and effectively.
01. Why Are Photovoltaic Materials Inseparable from an Inert Atmosphere?
Consider a typical scenario: A perovskite precursor solution is prepared in air. The DMSO or DMF in the solution absorbs moisture from the air, causing precursor hydrolysis and the formation of inactive phases. After spin-coating, the film shows pinholes and uneven crystallization, and the final cell efficiency is cut in half.
The core role of an inert gas glovebox:
- Isolate moisture and oxygen: Control H₂O/O₂ levels below 1 ppm to prevent material decomposition
- Dust and contamination control: A clean environment prevents particle-induced defects
- Process integration: Complete spin-coating, annealing, evaporation, and encapsulation within a single inert environment
📊 Data reference: Studies show that perovskite cells fabricated in air often have a T80 lifetime (time for efficiency to drop to 80% of its initial value) of less than 200 hours. In contrast, devices fabricated entirely inside a glovebox can last several thousand hours.
02. Preparations Before Use
2.1 Check Glovebox Status
Before each experiment, check the moisture and oxygen readings on the main display:
| Parameter | Target Value (PV Materials) | Alarm Value |
|---|---|---|
| O₂ | < 1 ppm | > 10 ppm |
| H₂O | < 1 ppm | > 10 ppm |
- If values exceed the target range, do not use the glovebox – run circulation purification until they recover.
2.2 Inspect Glove Integrity
- Visually check gloves for holes or cracks.
- Try the “stethoscope method”: seal the glove port and gently push the glove while listening for air leaks.
2.3 Material Pretreatment
Common mistake: Putting undried vials or solvent bottles directly into the airlock, bringing large amounts of moisture into the chamber.
Correct practice:
- Dry all glassware and substrates in an oven before use (recommended: >100°C for 2 hours).
- Dry solvents (e.g., DMF, DMSO, chlorobenzene) with molecular sieves, or directly purchase anhydrous grades.
- Run at least 3 evacuation/backfill cycles for the airlock.
03. Key Points for Spin-Coating
Spin-coating is the most frequent operation in PV materials R&D and the one most prone to problems.
3.1 Spin-Coater Placement
- The spin-coater should be permanently installed inside the glovebox – do not move it in and out each time.
- Ensure the spin-coater’s vacuum chuck is compatible with the glovebox vacuum system (usually requires an external pump or a dedicated in-box pump).
3.2 Environmental Control
- Solvent evaporation during spin-coating: Large amounts of solvent (e.g., chlorobenzene, DMF) can contaminate the chamber atmosphere. While the purification system can handle organic vapors, high concentrations will accelerate catalyst poisoning.
- Solution: Install a solvent adsorption module, or clean and purge the chamber promptly after spin-coating.
3.3 Dispensing and Spinning
- Dispensing: Hold the pipette 1–2 cm above the substrate while dispensing. Avoid touching the substrate with the tip.
- Spinning: Confirm that the substrate is firmly held by vacuum before starting the spin-coater.
- Cleaning: Immediately after spin-coating, wipe residual solution from the chamber walls with a lint-free wipe soaked in solvent to prevent dried residue buildup.
04. Annealing and Heat Treatment
Annealing should also be performed inside the glovebox or on a hot plate integrated with the chamber.
Key Points:
- Preheat the hot plate: Set the target temperature and allow the hot plate to stabilize before placing the substrate on it.
- Flatness: Ensure the hot plate surface is flat; otherwise, film thickness uniformity will suffer.
- Cover protection: During annealing, place a petri dish or glass cover over the hot plate to reduce localized solvent vapor concentration and prevent uneven crystallization.
- Cooling: After annealing, do not expose the hot substrate to a high flow of inert gas (rapid cooling may cause film cracking). Allow it to cool naturally to below 50°C before removal.
05. Electrode Evaporation and Encapsulation
5.1 Evaporation
If the glovebox is integrated with a thermal evaporator (for depositing gold, silver, or copper electrodes):
- Before evaporation: Check the material remaining in the evaporation boat/crucible to ensure it is sufficient.
- Vacuum level: Evacuate the evaporation chamber to high vacuum (typically < 5×10⁻⁴ Pa) before turning on the evaporation source.
- Shadow mask alignment: Use a microscopic alignment system inside the glovebox to precisely align the electrode pattern with the active layer.
5.2 Encapsulation – The Most Critical Step
Why is encapsulation important? Even if the entire device fabrication is done inside the glovebox, once it is taken out and exposed to air, moisture and oxygen will penetrate from the edges, and the device lifetime will still be short. Encapsulation must be completed inside the glovebox.
Common encapsulation methods:
| Method | Application | Key Points |
|---|---|---|
| UV adhesive | Small-area lab devices | Apply adhesive and cover glass inside the glovebox; cure with UV light (fiber-optic or UV lamp brought into the box) |
| Epoxy resin | Larger areas, long-term stability tests | Mix two-part epoxy inside the box; be mindful of the working time window |
| Lid + seal ring | Devices needing repeated access | Suitable when multiple measurements are required |
Post-encapsulation check: For perovskite devices, compare initial efficiency with efficiency after 24 hours of storage to quickly assess encapsulation quality.
06. Common Problems and Troubleshooting
| Symptom | Possible Cause | Solution |
|---|---|---|
| White spots on film after spin-coating | Precursor absorbed moisture, or solvent contains water | Review airlock procedures; use freshly dried solvent |
| Large efficiency variation for same formulation | Unstable H₂O/O₂ levels inside glovebox | Calibrate sensors; check chamber leak rate |
| Evaporated electrode appears dark | Residual oxygen or moisture in evaporation chamber | Extend pump-down time; check chamber seals |
| Gloves feel sticky or stiff | Contact with organic solvents (e.g., chlorobenzene, toluene) | Replace gloves; use solvent-resistant gloves (e.g., butyl rubber) |
07. Daily Maintenance Checklist
- Daily: Record H₂O/O₂ values; clean up any spills inside the chamber.
- Weekly: Check vacuum pump oil level and color (replace if dark or milky).
- Monthly: Inspect gloves for fine cracks; check airlock seals.
- Quarterly: Calibrate moisture and oxygen sensors using standard gas or a humidity generator.
- Semi-annually: Measure chamber leak rate (acceptable standard: < 0.05 vol%/h).
Summary
In photovoltaic materials R&D, the inert gas glovebox is more than just a protective enclosure – it is a critical variable that determines experimental success or failure. From drying materials and following proper airlock procedures to controlling every detail of spin-coating, annealing, and encapsulation – every instance of moisture or oxygen exposure will show up in the final device performance.
For R&D personnel, developing “in-box operation awareness” and standardized usage habits does more to improve reproducibility and reliability than upgrading the equipment itself.